How to Install Bird Proofing on Solar Panels (Step-by-Step Guide)
Solar panels sit raised off the roof surface. That gap underneath — warm, sheltered, largely undisturbed — is exactly the kind of space birds look for when nesting season comes around. Pigeons in particular will find it within weeks of installation if nothing is done to stop them.
The consequences go further than noise and mess. Nesting material is dry and flammable, accumulating directly beneath live electrical infrastructure. Cables get damaged by pecking and abrasion. Droppings corrode aluminium frames over time. Ventilation gets blocked, panels run hotter than they should, and output drops. Some insurers are now factoring this into commercial roof assessments.
BirdBlocker is a clip-mounted perimeter barrier that closes off the cavity around the panel edges. It attaches without drilling or adhesives, works on the vast majority of panels, and carries a 10-year material warranty. This guide covers how to install it properly from start to finish.
Choose the Right Height First
BirdBlocker comes in three variants. The measurement that determines which one you need is the vertical distance from the bottom of the panel frame down to the deepest point of the roofing material beneath it.

A strip that's too short leaves a gap. One that's too long won't sit correctly. Try our BirdBlocker Calculator before ordering to make sure you get the right product the first time.
Know Your Frame Type Before You Order
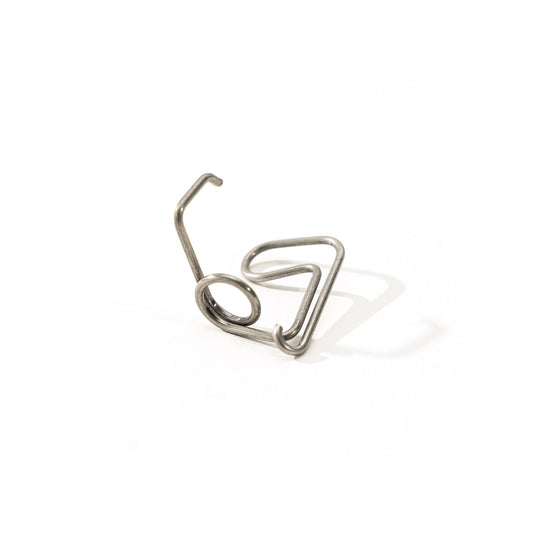
Conventional panel frames have a lip or flange running along the bottom edge. Standard BirdBlocker clips hook directly onto this — they're included in every box. Most panels installed before around 2020 use this profile.
Box-design frames have no lip on the short sides. They're a flat, closed profile. Standard clips have nothing to grip. For these you'll need BoxClip-50s, which are ordered separately and come in two heights (30mm or 35mm) and two widths (8–13mm or 14–18mm). Pull up the datasheet for your panels before ordering — the frame cross-section will tell you which profile you're working with.
What You’ll Need
- Measuring tape or ruler
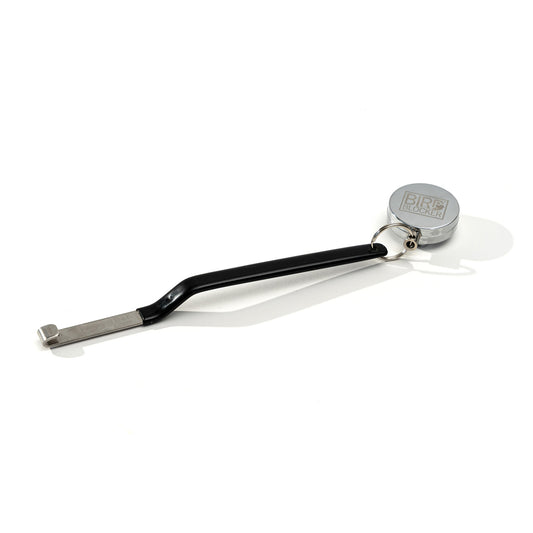
- BirdBlocker installation tool (optional, but very helpful)
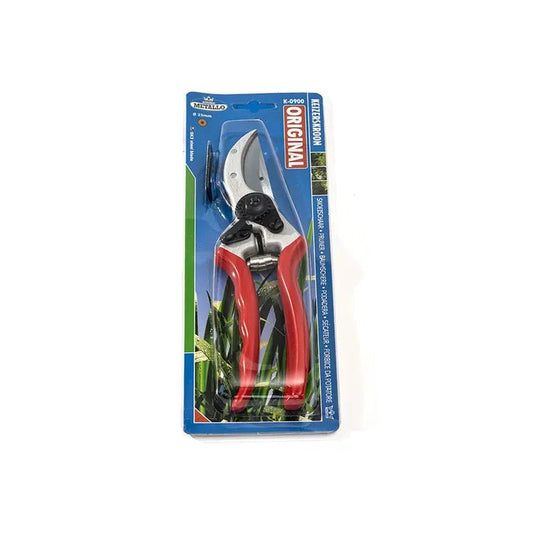
- Pruning shears — rounded blades, not straight snips. The cut is cleaner and the material responds better to them
- BirdBlocker strips
- BoxClips, if necessary (see prior section)
- Zip tie (depending on chosen connection method)
- All necessary roof safety equipment and experience

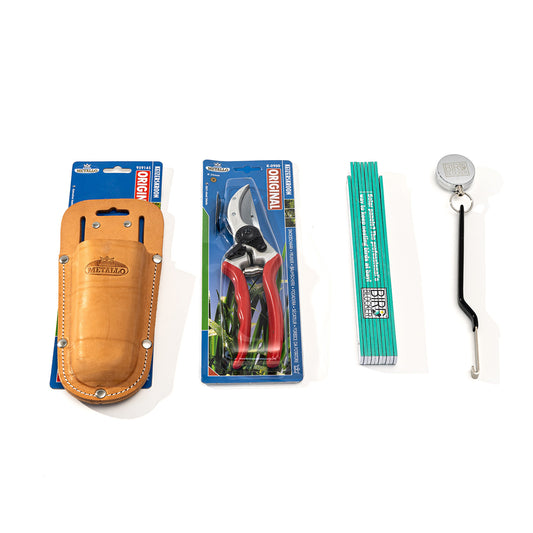
The BirdBlocker StarterKit includes the essential tools needed for installation, such as the BirdBlocker installation tool, ruler, and a pair of pruning shears with holster.
Starting the Installation
Begin at the corner of the roof furthest from your access point and work back toward the ladder. This keeps already-installed sections behind you rather than underfoot.

Conventional frames: Position the BB-tool behind the first clip and hold it in place with your finger. Keep the strip parallel to the frame, slide it under the panel, and work the clips onto the bottom lip one at a time until the full strip is seated. Use the tool — hand installation is slower, harder to control, and increases the risk of injury.
Box-design frames: Clip the BoxClip-50s onto the BirdBlocker first. You'll feel them click into position. Then mount the BirdBlocker strip the same way as above.

Before fitting the last strip on any side, finish the corner first. This ensures you have enough material left to make the turn cleanly.
Corners and Mounting Points
Inside corners: Straight cut through the back segment of the strip between two needles. Fold around the corner, add a clip on each side.
Outside corners: Miter cut through the back segment. Same additional clips either side.
Mounting brackets: Cut the back segment twice, leaving two or three needles between cuts to match the bracket width. Trim those needles horizontally as tight to the bracket as possible. Add a clip for stability. The goal is no visible gap where the bracket meets the barrier.
Extra clips at every corner and bracket take about thirty seconds each and are the difference between a system that holds for a decade and one that develops weak points within a season.
Connecting Strips
Where two strips meet, a small gap remains between the needle bridges. Two ways to close it:
With cable ties: Thread a UV-proof tie diagonally — one side over the bridge, one under. Zip tight, cut the tail, rotate the head to the back. Cable ties are included in the box.
Without cable ties: Interlock the bridges directly. Slightly faster, works just as well in most conditions.
Check the Whole Perimeter
Once the installation is complete, walk every edge. Corners, bracket points, strip connections — check all of them. Gaps that look minor at a glance are exactly what birds probe for. Birds will naturally look for any small opening to exploit.
If cables are running loose under the panels, BirdBlocker alone doesn't address that. CableFixPro clips onto the same frame profiles and elevates cables off the roof surface, preventing abrasion against aluminium edges and reducing interference from birds and rodents. The two systems are designed to work together.
Installation Time
A two-person team can typically complete a 12-panel residential roof in around an hour. Larger commercial arrays obviously take longer, but the process scales without complication.
All BirdBlocker variants we offer are pre-clipped for ease of installation, significantly reducing labour time. While designed for professional use, our products are also suitable for DIY-oriented homeowners with previous roof or solar installation experience.
Ready to Protect Your Installation?
Bird damage is one of those problems that's much cheaper to prevent than to fix. If your panels are already up — or you're planning an installation — now is the time to sort it.

A few useful places to start:
Shop BirdBlocker — browse the full range of bird proofing strips, clips, and starter kits for residential and commercial installations.
Not sure how much you need? Use the BirdBlocker Calculator to get an accurate quantity estimate based on your roof layout. No guesswork, no over-ordering.
Installing professionally? Our Pro-Portal is built for installers and solar companies. Register for access to trade pricing, no minimum order quantities, and priority support.